How Long to Chill Cookie Dough Before Baking (The Sweet Spot for Perfect Cookies)
If you’re new to baking cookies, one of the first questions that comes to mind is: “How long to chill cookie dough before baking?” Even experienced bakers ask this from time to time, especially during warmer months when dough tends to soften quickly.
With over 17 years in the cookie industry, I’ve often had to deal with the challenges of chilling dough properly in summer. The truth is, the ideal chilling time ranges from 30 minutes up to 24 hours, depending on the type of cookie and the result you want.
In this guide, we’ll cover:
- The best time frames for chilling cookie dough
- Different methods to chill dough quickly and safely
- How long you can store dough for future baking
- Pro tips to avoid common chilling mistakes
By the end, you’ll know exactly how to chill cookie dough for perfect cookies every time.
Why Do You Need to Chill Cookie Dough?
Before we talk about how long to chill cookie dough, it’s important to understand why chilling is necessary. Chilling isn’t just a professional trick—it directly affects cookie shape, flavor, and texture. Here’s how:
1. Gluten Relaxation → Chewier Texture
When flour is mixed into cookie dough, gluten develops. If gluten is overworked, cookies can turn out hard or tough. Chilling the dough gives gluten strands time to relax and break down. The result? Soft, chewy cookies with a tender bite instead of a dry, dense texture.
(See: Why Is My Cookie Dough Too Sticky or Wet?)
2. Flavor Development → Rich Caramelization & Depth
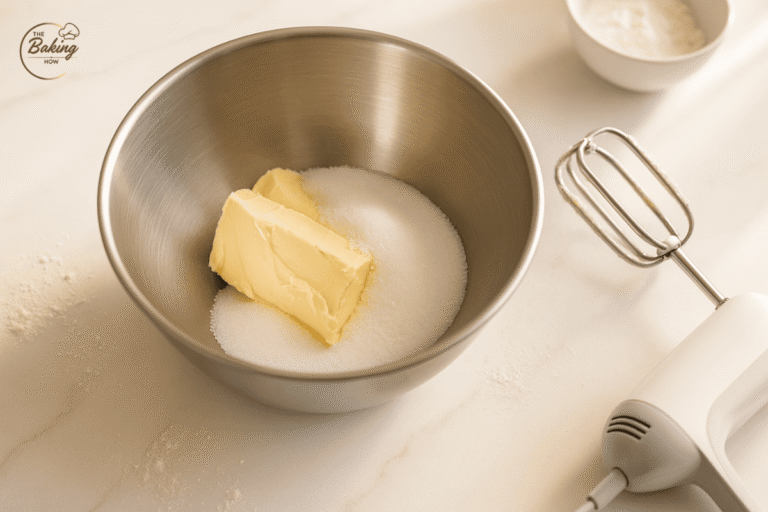
Cookie dough contains a mix of flour, butter (or shortening), sugar, and liquids. These ingredients need time to fully blend together. Chilling allows the sugar to hydrate and fats to solidify, which enhances caramelization during baking. This develops a deeper, more complex flavor that you won’t get if you bake immediately.
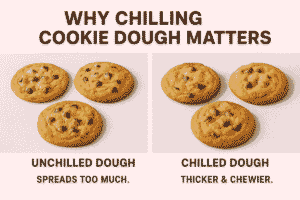
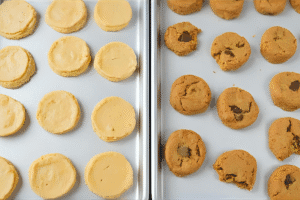
3. Better Cookie Shape → Less Spread in the Oven
One of the biggest frustrations for home bakers is cookies that spread too much and turn out flat. This usually happens when butter or fat is too warm during mixing. By chilling the dough, all ingredients—especially butter—firm up and combine evenly. This keeps cookies from spreading excessively, giving them a thicker, bakery-style shape.
(Related read: Why Do My Cookies Spread Too Much?)
According to King Arthur Baking, even chilling for just 30 minutes can make a noticeable difference in taste and appearance.
Ideal Chilling Times (By Cookie Type)
Not all cookie doughs are the same — fat, sugar, and flour ratios vary in each recipe, which means chilling times also differ. Here’s a breakdown of the most common cookie types and their ideal chilling times:
🍪 Classic Chocolate Chip Cookies → 1–2 hours minimum
This is the go-to recipe for most home bakers. Since the fat, sugar, and flour ratios are well balanced, it requires a standard chilling time of about 1–2 hours. This helps the butter firm up, prevents excess spreading, and gives you cookies with a chewy center and golden edges.
🍭 Sugar Cookies (Cut-Outs) → At least 2 hours (or overnight)
Sugar cookies have a higher sugar ratio, which makes them prone to spreading and turning flat. To prevent this, the dough needs at least 2 hours of chilling. For the best results (especially when rolling and cutting shapes), chill the dough overnight. This ensures sharp edges, less spreading, and a smooth, bakery-style finish.
👉 If you’re a beginner, check out our guide on (Why Are My Cookies Flat?) to make the perfect shaped cookies.
🌾 Oatmeal Cookies → 30 minutes–1 hour is enough
Oatmeal cookies typically contain less butter and sugar compared to chocolate chip or sugar cookies. This means they don’t require as much chilling. 30 minutes to 1 hour in the fridge is usually enough to firm the dough while still keeping the cookies soft and chewy.
🔑 Pro Tips from Industry Experience
In large-scale bakeries, we rarely have the luxury of pausing production for dough chilling. Instead, we:
- Use pre-chilled ingredients (butter, eggs, flour) so the dough is cool right after mixing.
- Maintain dough temperature between 26–28°C (24–25°C for high-fat or high-sugar recipes).
- This allows us to skip long chilling without compromising on cookie texture or shape.
💡 Home bakers’ takeaway: If you’re short on time, chill your ingredients before mixing — it’s a great hack to cut down dough resting time.
🧊 How to Chill Cookie Dough Properly
Chilling cookie dough isn’t just about putting it in the fridge. The way you store and cover the dough can make a big difference in texture and flavor. Here’s a step-by-step guide:
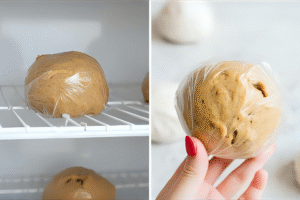
1️⃣ Wrap the Dough Well
- Always cover your dough to prevent it from drying out.
- You can use plastic wrap, a zip-lock bag, or an airtight container.
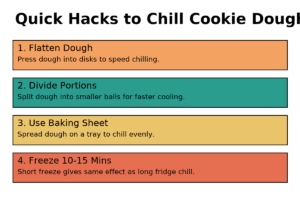
- If storing a whole dough ball, flatten it slightly so it chills evenly.
Pro Tip 👨🍳: If you’re chilling for more than 12 hours, double-wrap the dough to keep it from absorbing fridge odors.
2️⃣ Chill in Bowl (Quick Option)
- Place the dough in the mixing bowl, cover with plastic wrap or a lid.
- Refrigerate for at least 30 minutes to 2 hours.
- Best for small batches or if you plan to scoop later.
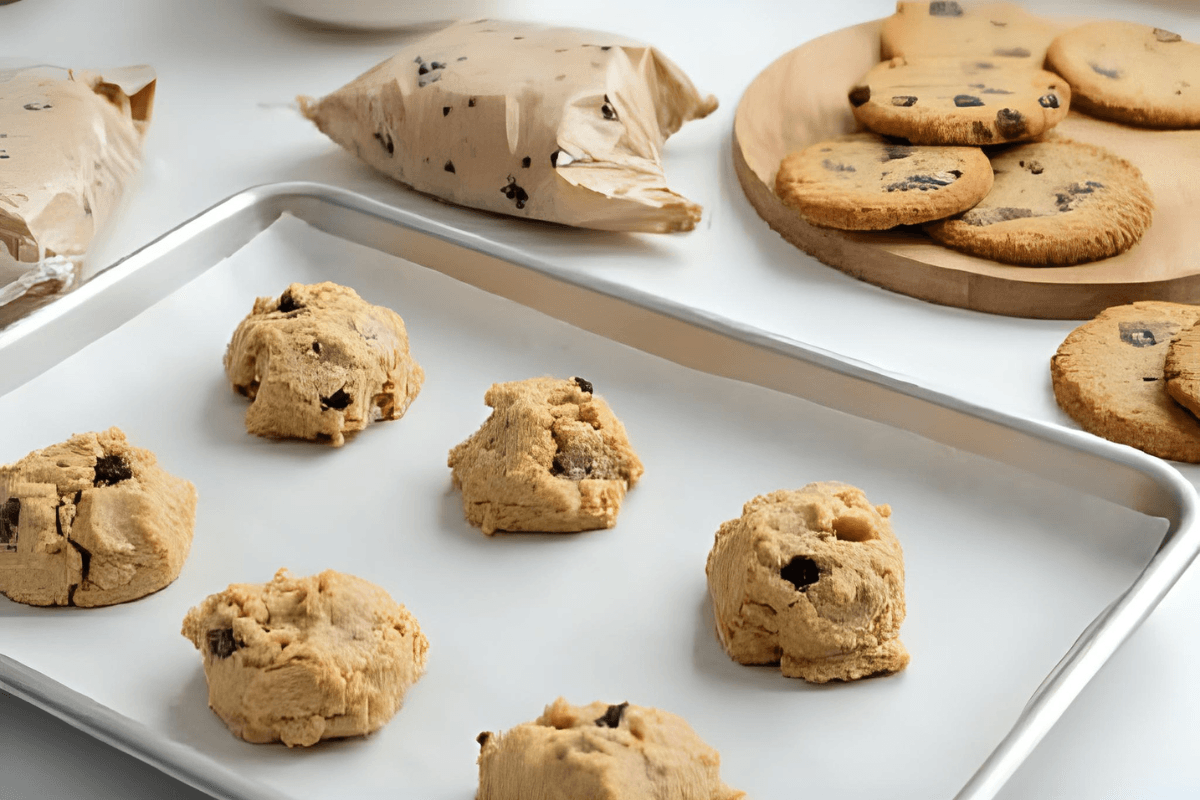
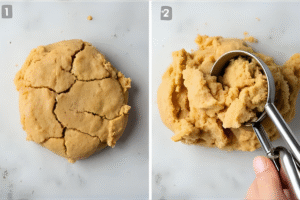
3️⃣ Portion Before Chilling
- Scoop dough balls with a spoon or cookie scoop before chilling.
- Place them on a tray lined with parchment paper, then refrigerate.
- This method makes it easier to bake directly without waiting for dough to soften.
Pro Tip 🥶: Portioning first prevents rock-hard dough struggles when scooping after overnight chilling.
4️⃣ Overnight Chilling
- Perfect for recipes like sugar cookies or cut-outs.
- Wrap tightly and let dough rest in the fridge overnight (8–24 hours).
- This enhances flavor as the flour hydrates and the fats solidify.
5️⃣ Freezer Option (For Future Baking)
- Roll dough into a log or portion into balls.
- Place on a tray, freeze until solid, then transfer to a freezer bag.
- Lasts up to 2–3 months.
- When ready, bake straight from frozen (just add 1–2 minutes to bake time).
✅ Industry Insight:
In the large-scale cookie industry, we often skip long chilling by using pre-chilled ingredients and controlling dough temperature during mixing (around 26–28 °C). For high-fat or high-sugar doughs, we chill ingredients even more to keep dough closer to 24–25 °C—saving time without sacrificing quality.
👉 If you’re a beginner, check out our guide on Cookie Baking Tools for Beginners to make the process easier.
⏳ Can You Chill Cookie Dough Too Long?
Chilling cookie dough has many benefits, but leaving it for too long can sometimes cause problems. Let’s break it down:
✅ What Happens If You Chill Overnight (12–24 Hours)
- Dough develops richer flavor (caramel notes, nutty depth).
- Texture becomes chewier and more structured.
- Shape holds perfectly during baking.
👉 This is usually the sweet spot for most recipes.
⚠️ What Happens If You Chill Too Long (2–3 Days)
- Dough may become too dry as moisture slowly evaporates.
- Cookies can turn tougher if the fat hardens too much.
- Sugar may start to draw out water from the dough, changing texture.
❌ Beyond 3 Days
- Dough begins to lose freshness.
- Risk of off-flavors (especially if stored uncovered).
- May bake unevenly due to excessive moisture loss.
(See: Why Is My Cookie Dough Too Dry or Crumbly)
🍪 Pro Baker Tip
If you want to store cookie dough longer than 2 days, wrap it tightly in a plastic + airtight container, then freeze it. Frozen dough keeps for up to 3 months and bakes just as delicious when thawed slightly.
✅ Quick Rule of Thumb:
- 12–24 hours = Best results (flavor + texture)
- 48 hours = Still good, but slightly drier
- 72+ hours = Freeze instead!
🥶➡️🔥 How to Use Cookie Dough After Chilling
Once your cookie dough has been chilled, it needs a little care before going into the oven. If you skip this step, your cookies might turn out too thick, too flat, or unevenly baked. Here’s how to handle it properly:
1. Let It Sit Briefly at Room Temperature
- If the dough is very hard (after long chilling), let it rest on the counter for 5–10 minutes.
- This makes it easier to scoop or roll without cracking.
2. Scoop or Roll the Dough
- Use a cookie scoop or spoon for even sizes.
- Roll into smooth balls if the recipe requires.
- Uniform size = even baking.
3. Don’t Over-Soften the Dough
- Avoid leaving the dough out for too long.
- If the butter gets too soft, cookies may spread too much in the oven.
4. Baking Chilled Dough
- Preheat the oven fully before baking.
- Place dough balls on a parchment-lined baking tray.
- Add 1–2 extra minutes to baking time if the dough is very cold.
🍪 Pro Baker Tip
If you chilled the dough in a log shape (for slice-and-bake cookies), use a sharp knife to cut clean slices. Dip the knife in hot water if the dough is too firm.
✅ Key takeaway: Treat chilled dough gently — soften just enough to handle, then bake straight away for the perfect balance of shape, flavor, and texture.
For more baking insights, see our guide on Cookie Baking Mistakes.
✅ Final Thoughts: How Long to Chill Cookie Dough Before Baking
Chilling cookie dough is more than just an optional step — it’s the secret weapon for bakers who want cookies with perfect texture, flavor, and shape. Whether you chill for 30 minutes or overnight, this small effort makes a huge difference:
- The gluten relaxes, giving a soft and chewy bite.
- The flavors deepen, creating a richer taste.
- The dough holds its shape, preventing flat, spread-out cookies.
So next time you’re tempted to skip chilling or finding answer for How Long to Chill Cookie Dough Before Baking, remember: a little patience now equals bakery-worthy cookies later. 🍪✨
If your cookies still turn out too soft, crispy, or chewy, explore our other guides:
For a visual comparison, check out our cookie texture calculator — it even factors in dough chilling time when predicting texture.
Happy baking—and remember, patience pays off in cookies! 🍪